| Site Notice |
|---|
|
We have a limited coverage policy. Please check our coverage page to see which articles are allowed. |
Help:Images
NintendoWiki uses images to illustrate concepts such as logos and box art for a variety of purposes. This page is meant to provide general guidelines on images.
Contents
Uploading images
General guidelines
A few general things to keep note of when uploading an image to the wiki:
- Make sure that the file has a brief, straightforward name. The name shouldn't be more than a few words at most, and should clearly indicate what the image is depicting. Users should also avoid using special characters or other languages in file names.
- While the wiki does not have a maximum image resolution, the file size cannot be larger than 2 MB.
File types
Images are uploaded using the "Upload file" page. When uploading an image, it is important to note the extension of the file, as the wiki supports a select few file types. It is also important to understand the differences between these types of files, as they will impact the quality of the image:
- JPEG (.jpg/ .jpeg) is a lossy image format generally used for photographs.
- PNG (.png) is a lossless raster graphics format which supports palette-based images and transparency.
- GIF (.gif) is a bitmap image format that supports up to 256 colors. GIF files should generally only be used if they are animated.
- BMP (.bmp) images are not supported by the wiki, and should be converted to another file format before being uploaded.
- SVG (.svg) is an XML vector-based format. This format is not fully supported by MediaWiki, so avoid uploading if possible.
- Video and audio formats such as Ogg are not supported by the wiki.
File description and licensing
In the image description, one should add a "Licensing" section and the {{FileSourceCitation}} template. In general, the format should look like this:
==Licensing==
{{FileSourceCitation
|use=What the file is being used for to determine the license (see below).
|colorscheme=The color scheme to be used.
|series=If an image relates to a specific series of games, that series is noted here.
|game=If an image is related to a specific game, that game should be noted here.
|face=If an image is depicting a person, that person is noted here.
|console=If an image is of hardware or is depicting a game for a specific system, that hardware should be noted here.
|original_source=The original source for the file. If the source is another website, this should include an external link to the direct webpage the uploaded image was originally used on.
|edits=If any edits have been made to the original image, describe them here.
}}
For a list of applicable licenses for the "use" parameter, see here
Applying images
Individual
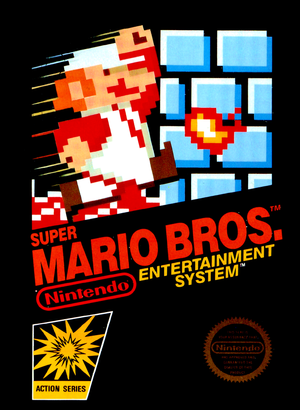
The code for applying an image to an article is similar to that of adding a link. For example, to use "File:SMB Boxart.png", one would use the code:
[[File:SMB Boxart.png]]
This will display the image at full size, with no borders, directly where it is placed in the article. However, how the image is displayed can be adjusted using a number of parameters:
Code Result To display the image as a thumbnail: To adjust the image size: To add a caption: To change the position:
Galleries
| Main article: Help:Gallery |
Galleries are generally used for the purpose of displaying numerous images in one space. They can be added to an article using the "<gallery></gallery>" tags, while the image names are added between the tags. For example:
<gallery>
SMB Boxart.png
</gallery>
Displays:
|


